Frontend (Advanced)
In the previous chapter, the basic usages of the Temple Wallet were covered. The React app that was developed is functional. The app displays the storage information and enables the user to make two contract calls: open a raffle and buy a ticket.
However, the user experience could be improved for these aspects of the application:
- transactions: if the user wants to send two transactions in a row, he needs to wait for the first transaction to be confirmed before sending the second one. Thus, the application should prevent the user from sending several transactions and should keep the user informed about the confirmed transactions.
- storage information: everyone should be able to read the storage information. However, our app requires you to connect a temple wallet beforehand. This method has to be improved.
- Some parts of the application should not be reachable to everyone: only the contract administrator should be able to fill the form and open the raffle, and an address having already bought a ticket should not be able to try to buy another one.
In this chapter, we will refactor the react app to fix these three points.
Adding notifications
The full project can be found here: https://github.com/bepi-octo/raffle-react-app
To install the project:
$ yarn install
To run the application:
$ yarn start
First, we will integrate alert notifications into our app. A notification should pop up when a transaction is sent, and when a transaction succeeds or fails.
We will use two node modules for the notifications: react-alert and react-alert-template-basic
react-alert uses react-alert-template-basic to create a context provider.
Let's import the two modules and set a configuration:
import { positions, Provider as AlertProvider, types, useAlert } from "react-alert";
//@ts-ignore
import AlertTemplate from "react-alert-template-basic";


const alertOptions = {
  timeout: 5000,
  position: positions.TOP_RIGHT,
  type: types.ERROR,
};
We can add the provider and configure it:
function App() {
  return (
    <AlertProvider template={AlertTemplate} {...alertOptions}> // alert provider
    <DAppProvider appName={APP_NAME}>
      <React.Suspense fallback={null}>
        <Page>
          <ConnectionSection></ConnectionSection>
          <RaffleInformation></RaffleInformation>
          <LaunchRaffleSection></LaunchRaffleSection>
          <BuyTicketButton></BuyTicketButton>
        </Page>
      </React.Suspense>
    </DAppProvider>
    </AlertProvider>
  );
}

export default App;
Let's test it. We will display a notification when connecting a new account. There are three types of alerts:
info: displays some information,success: displays the success of an operation,error: displays the failure of an operation.
Let's use an info alert:
function ConnectionSection() {
  const alert = useAlert();
  const connect = useConnect()
  const accountPkh = useAccountPkh()
  const tezos = useTezos()
  const [balance, setBalance] = React.useState(null)
  const handleConnect = React.useCallback(async () => {
    try {
      await connect(NETWORK, { forcePermission: true })
      alert.info("Account connected"); // will display an alert after connection
    } catch (err) {
      console.error(err.message)
    }
  }, [connect, alert])

  ...
}
Let's try our app and connect a new account:
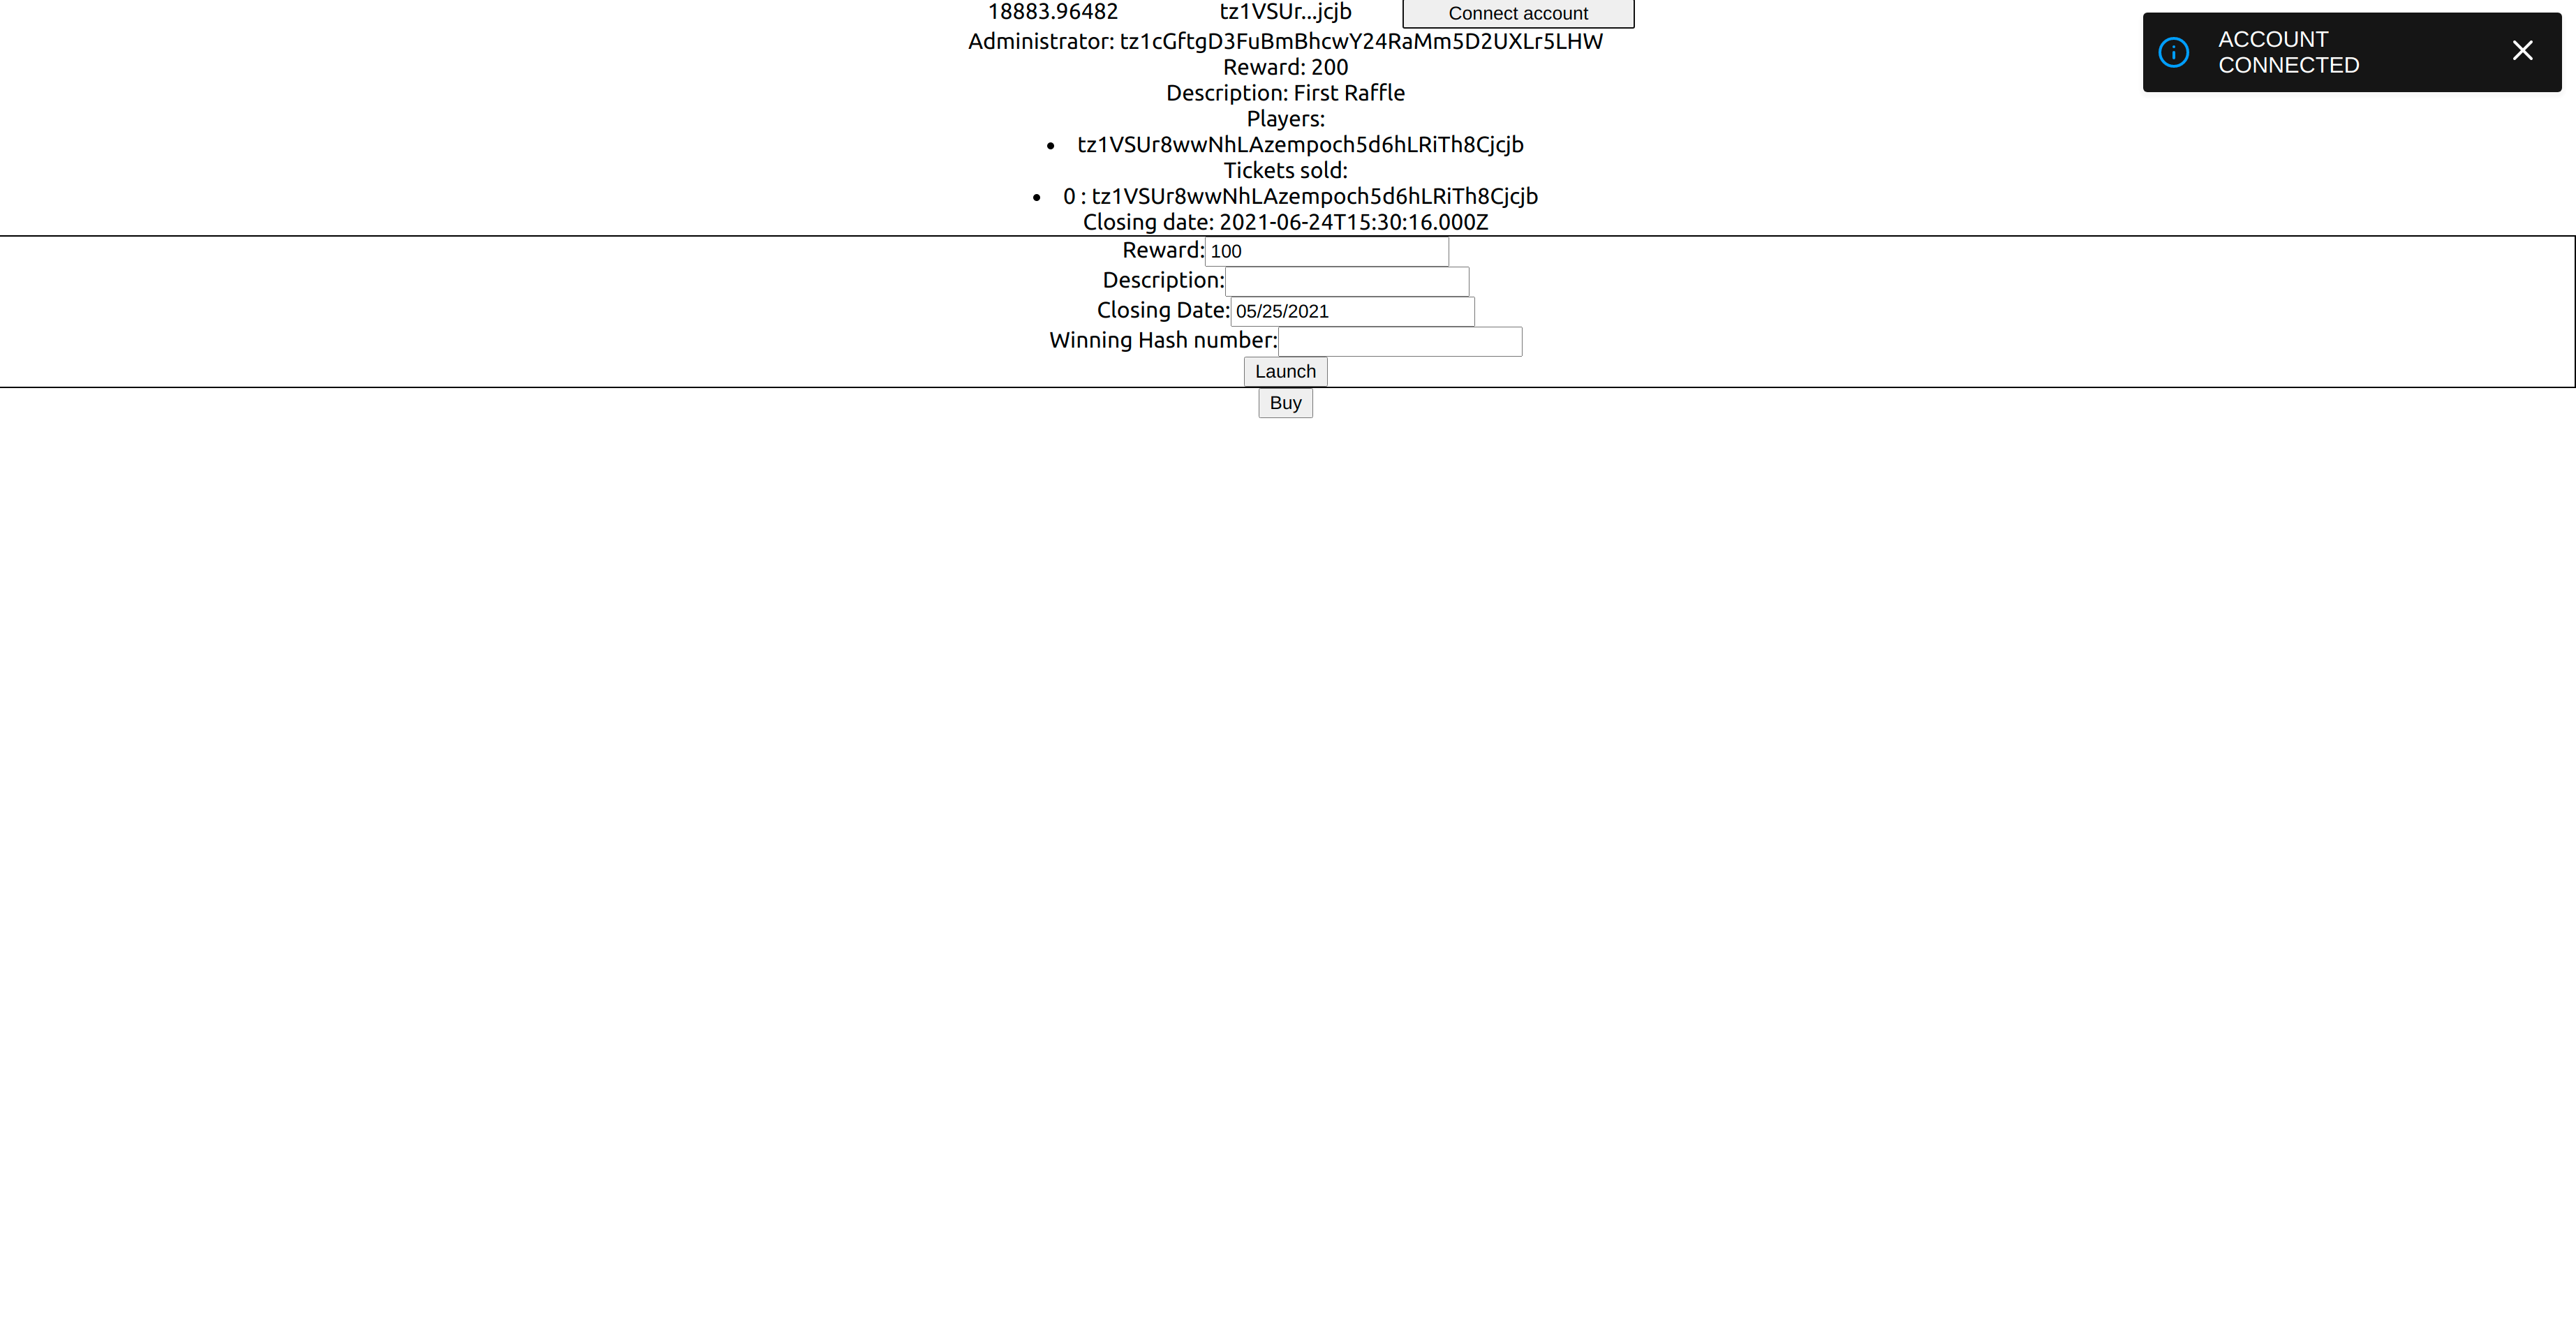
An alert appears in the top-right corner and disappears after five seconds.
Adding transaction notifications
Now that we know how to add notifications, we can use them to notify the user of contracts if a call is a success or failure.
Let's take the example of the call to the openRaffle entrypoint.
  const launchRaffleCallback = React.useCallback(
    ({ reward, description, closingDate, winningTicketHash }: launchRaffleParameters) => {
      return (contract as any).methods
        .openRaffle(reward, closingDate, description, web3.utils.asciiToHex(winningTicketHash).slice(2))
        .send({ amount: reward });
    },
    [contract]
  );
Every contract call is unsynchronized and returns a Promise<TransactionWalletOperation>. The TransactionWalletOperation class contains the information of transactions sent by the wallet. The confirmation method waits for the transaction confirmation and returns a promise. If it is fulfilled, the transaction is confirmed; the user should be notified with alert.success. On the other hand, if it is rejected, the transaction has failed. A TezosOperationError is raised, containing information about the tezos context (rpc, address used...) and the error message; the user should be notified with alert.error, displaying the error message.
return <button onClick={() => {
    launchRaffleCallback({
      reward: raffleReward,
      description: raffleDescription,
      closingDate: raffleClosingDate,
      winningTicketHash: raffleWinningHashNumber
    }).then((e: TransactionWalletOperation) => {
      alert.info("Launching new raffle ...");
      e.confirmation().then((e: any) => {
        alert.success("New raffle launch", {
        });
        return e;
      });
      return e;
    })
    .catch((e: any) => {
      alert.error(e.message);
      console.error(e.message);
    });
The same thing can be done with the call to the buyTicket entrypoint:
  return <button onClick={() => {
    buyTicketCallback().then((e: any) => {
      debugger
      alert.info("Buying a new ticket ...");
      e.confirmation().then((e: any) => {
        alert.success("Ticket bought", {
        });
        return e;
      });
      return e;
    })
    .catch((e: any) => {
      alert.show(e.message);
      debugger
      console.error(e.message);
    });
  }}>Buy</button>
}
Let's try to buy a second ticket with the same address:
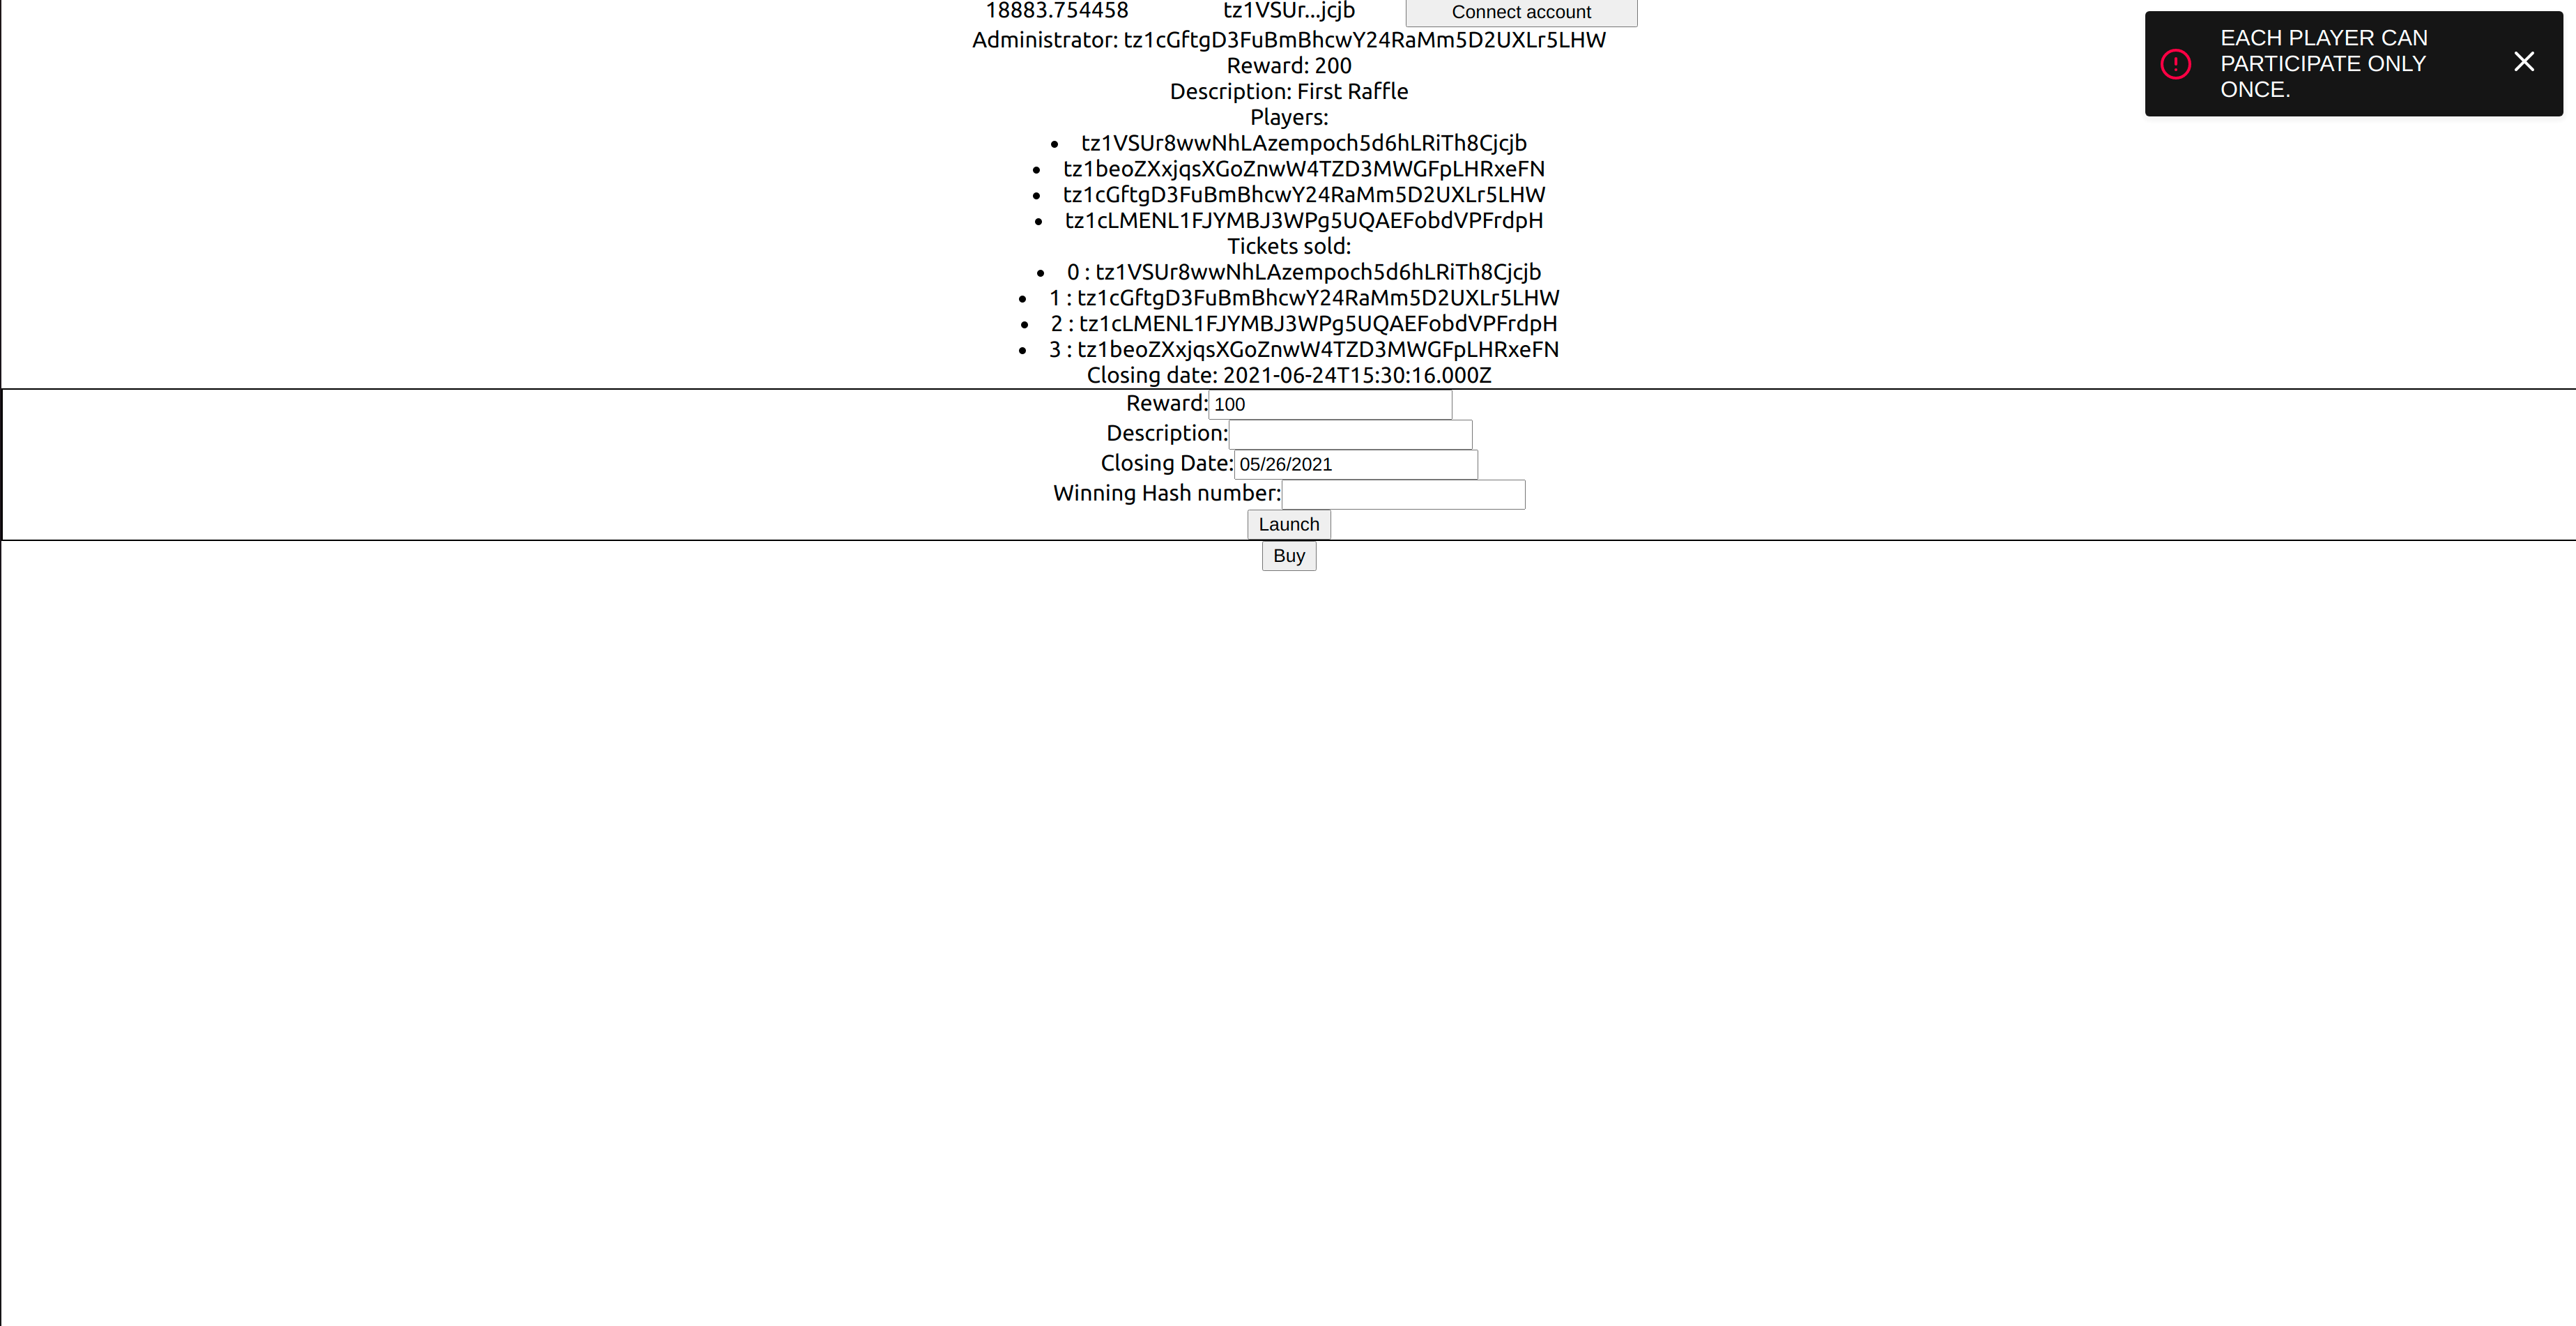
An error notification displaying the error message from the smart contract should be raised.
Preventing the user from using the same counter
Let's try to make two contract calls to the buyTicket entrypoint in a row. If we quickly click twice on the "Buy" button, a Counter already in use error is raised as shown below:
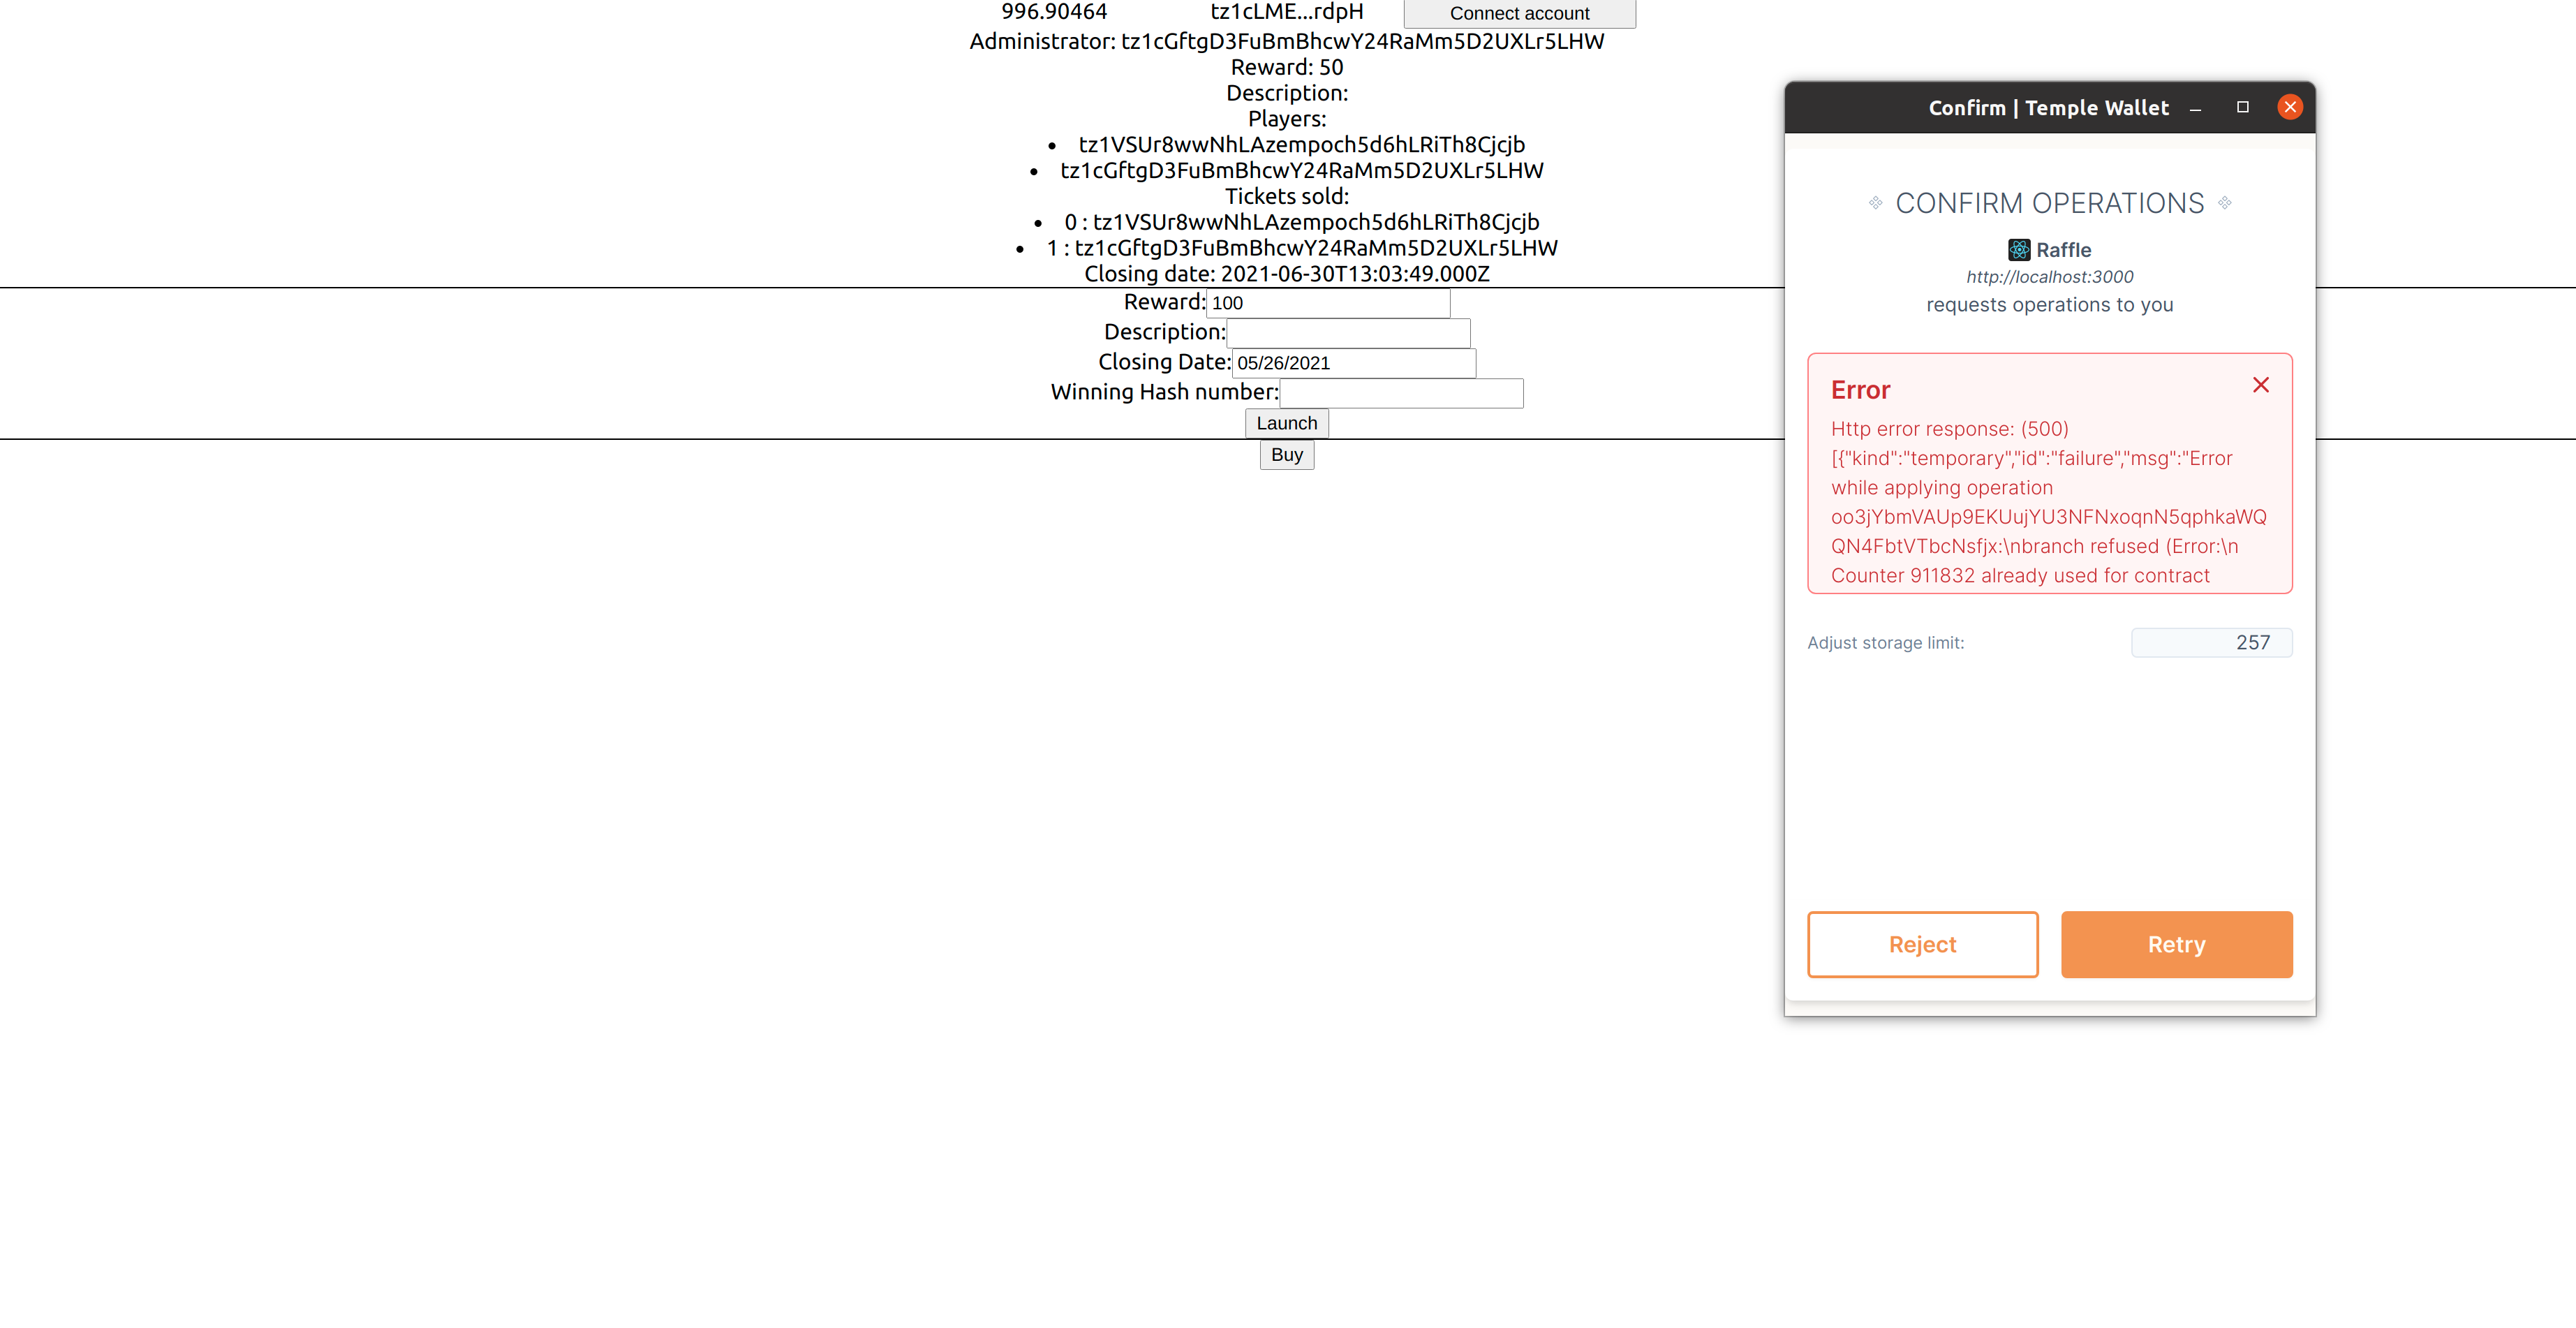
It means that our first transaction is still in the mempool and the second transaction uses the same counter, hence the error notification.
The user should not be able to send a transaction if one is already in the mempool. These buttons therefore need to be disabled.
We need to know if there is a pending transaction in the app. A boolean that we update before and after each transaction should be enough.
function App() {
  const [pendingTransaction, setPendingTransaction] = useState<boolean>(false);
  return (
    <AlertProvider template={AlertTemplate} {...alertOptions}>
    <DAppProvider appName={APP_NAME}>
      <React.Suspense fallback={null}>
        <Page>
          <ConnectionSection></ConnectionSection>
          <RaffleInformation></RaffleInformation>
          <LaunchRaffleSection></LaunchRaffleSection>
          <BuyTicketButton></BuyTicketButton>
        </Page>
      </React.Suspense>
    </DAppProvider>
    </AlertProvider>
  );
}
The LaunchRaffleSection and BuyTicketButton actions need to know if a transaction is pending. They need to get this boolean and a callback to update it in their props:
type BuyTicketButtonProps = { pendingTransaction: boolean; setPendingTransactionCallback: (b : boolean) => void}
function BuyTicketButton({pendingTransaction, setPendingTransactionCallback} : BuyTicketButtonProps) {
type LaunchRaffleSectionProps = { pendingTransaction: boolean; setPendingTransactionCallback: (b : boolean) => void}
function LaunchRaffleSection({pendingTransaction, setPendingTransactionCallback} : BuyTicketButtonProps) {
Our App component will pass its [pendingTransaction, setPendingTransaction] state to both of them:
function App() {
  const [pendingTransaction, setPendingTransaction] = useState<boolean>(false);
  return (
    <AlertProvider template={AlertTemplate} {...alertOptions}>
    <DAppProvider appName={APP_NAME}>
      <React.Suspense fallback={null}>
        <Page>
          <ConnectionSection></ConnectionSection>
          <RaffleInformation></RaffleInformation>
          <LaunchRaffleSection pendingTransaction={pendingTransaction} setPendingTransactionCallback={setPendingTransaction}></LaunchRaffleSection>
          <BuyTicketButton pendingTransaction={pendingTransaction} setPendingTransactionCallback={setPendingTransaction}></BuyTicketButton>
        </Page>
      </React.Suspense>
    </DAppProvider>
    </AlertProvider>
  );
}
Let's see how to use this boolean in our BuyTicketButton. First, we need to check if there is a pending transaction. It must be done before any contract call (step 1). If a transaction is pending, the user must be notified and asked to wait (step 2). Then, once a transaction is sent, the boolean must be set to true (step 3). Finally, once the transaction is either validated or rejected, the user must be notified, and the boolean set back to false (step 4)
  return <button onClick={() => {
    if (!!pendingTransaction) { // 1. check
      alert.info("A transaction is being processed, please wait...") //2. user notification that a transaction is pending
    } else
    buyTicketCallback().then((e: any) => {
      alert.info("Buying a new ticket ...");
      setPendingTransactionCallback(true) // 3. set boolean to true
      e.confirmation().then((e: any) => {
        alert.success("Ticket bought", {
        });
        return e;
      }).finally( (e:any) => {
        setPendingTransactionCallback(false)});  // 4. set the boolean to false, whether the transaction is validated or rejected
      return e;
    })
    .catch((e: any) => {
      alert.show(e.message);
      console.error(e.message);
    })}}>Buy</button>
The same has to be done with the LaunchRaffleSection component.
Fetching the storage without a wallet
Most Dapp users want to see the Dapp data without installing a wallet or using an address. In our case, the users want to know the reward or the end date.
We will use Taquito, which can fetch a contract's storage without requiring any wallet account. We will use a TezosToolkit (with an RPC) instead of the Temple Wallet.
First, let's define a RPC provider. We will use the Smartpy Edonet RPC at https://edonet.smartpy.io
//src/dapp/defaults.ts
export const RPC_PROVIDER = "https://edonet.smartpy.io";
We define a TezosToolkit into the App component:
import { APP_NAME, NETWORK, RAFFLE_ADDRESS, RPC_PROVIDER } from './dapp/defaults';
import { BigMapAbstraction, TezosToolkit, TransactionWalletOperation } from "@taquito/taquito";

function App() {
  const [pendingTransaction, setPendingTransaction] = useState<boolean>(false);
  const tzToolkit: TezosToolkit = new TezosToolkit(RPC_PROVIDER);
  return (
The RaffleInformation component will take this TezosToolkit as props. The contract held in the component storage will be fetched directly by Taquito as a ContractAbstraction<ContractProvider>. The effect, which sets the contract state, is refactored using the tzToolkit object.
import { BigMapAbstraction, TezosToolkit, ContractAbstraction, ContractProvider, TransactionWalletOperation } from "@taquito/taquito";

type RaffleInformationProps = {tzToolkit: TezosToolkit}
function RaffleInformation( {tzToolkit} : RaffleInformationProps) {
    const [contract, setContract] = useState<ContractAbstraction<ContractProvider>>();

    React.useEffect(() => {
    (async () => {
        const ctr = await tzToolkit.contract.at(RAFFLE_ADDRESS);
        setContract(ctr);

    })();
  }, [tzToolkit]);
And that's it! Since the Temple Wallet is based on Taquito, the way the storage is fetched remains the same.
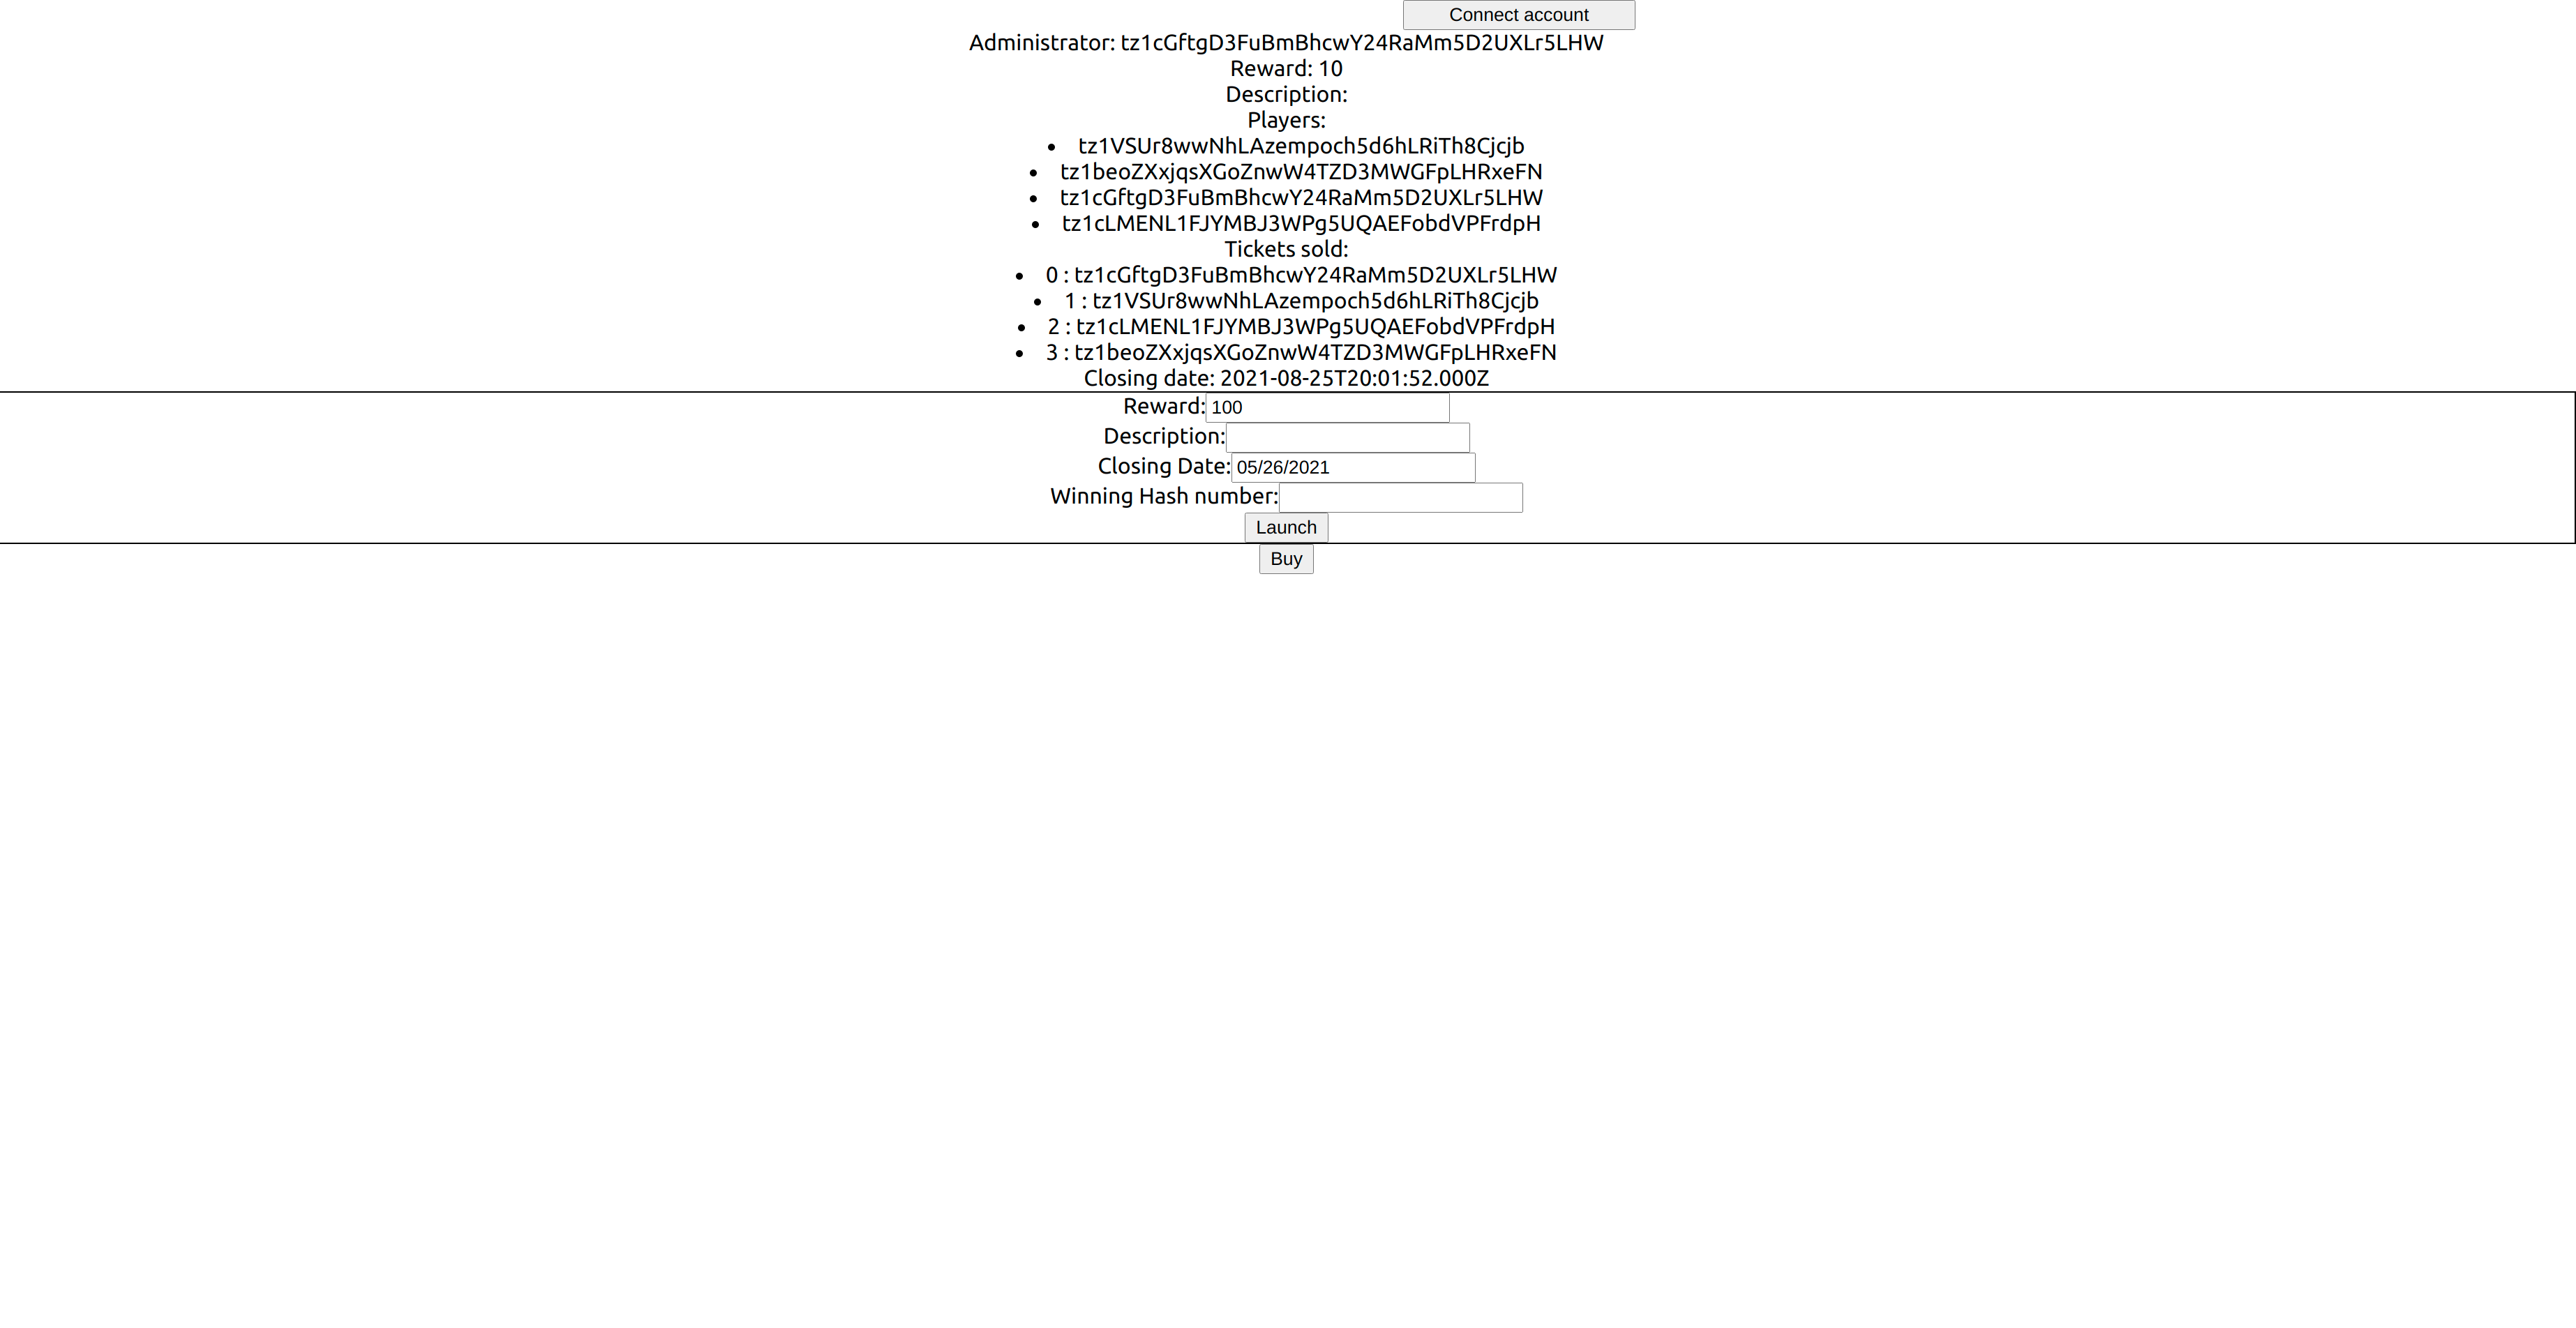
Everyone, even those who do not have a Temple Wallet, can now access the stored data.
Restricting the access
Some parts of the application should be restricted:
- only the administrator should be able to fill the form to open a new raffle or to launch a new one.
- only new players should be able to buy a ticket.
By checking which user is connected, the app can display content or withhold it.
Page component refactoring
First, we need to do some refactoring. So far, the contract storage is only accessible from the RaffleInformation component. However, if we want to restrict some parts of the app, we need to access the contract storage from the Page component, which renders the LaunchRaffleSection and BuyTicketButton components. Both of these are stored in the storage.
We need to pull the storage retrieving logic up to the component Page.
type PageProps = { pendingTransaction: boolean; setPendingTransactionCallback: (b: boolean) => void; tzToolkit: TezosToolkit }
const Page = ({ pendingTransaction, setPendingTransactionCallback, tzToolkit }: PageProps) => {

  const tezos = useTezos();

  const [contract, setContract] = useState<ContractAbstraction<ContractProvider>>();
  const [storage, setStorage] = useState<RaffleStorage>();
  const [tickets, setTickets] = useState<string[]>([]);

  React.useEffect(() => {
    (async () => {
      const ctr = await tzToolkit.contract.at(RAFFLE_ADDRESS);
      setContract(ctr);
    })();
  }, [tzToolkit]);

  const loadStorage = React.useCallback(async () => {
    if (contract) {
      const str = await (contract as any).storage();
      const ticket_ids = Array.from(Array(str.players.length).keys())
      const tckts = await str.sold_tickets.getMultipleValues(ticket_ids)
      setStorage(str)
      setTickets([...tckts.valueMap])
    }
  }, [contract]);

  React.useEffect(() => {
    loadStorage();
  }, [loadStorage]);

  useOnBlock(tezos, loadStorage)


  return <div className="App">
    <ConnectionSection></ConnectionSection>
    <RaffleInformation storage={storage} tickets={tickets}></RaffleInformation>
    <LaunchRaffleSection pendingTransaction={pendingTransaction} setPendingTransactionCallback={setPendingTransactionCallback}></LaunchRaffleSection>
    <BuyTicketButton pendingTransaction={pendingTransaction} setPendingTransactionCallback={setPendingTransactionCallback}></BuyTicketButton>
    </div>
}
The RaffleInformationProps are:
type RaffleInformationProps = { storage: RaffleStorage | undefined, tickets: string[] }
function RaffleInformation({ storage, tickets }: RaffleInformationProps) {...}
function App() {
  const [pendingTransaction, setPendingTransaction] = useState<boolean>(false);
  const tzToolkit: TezosToolkit = new TezosToolkit(RPC_PROVIDER);
  return (
    <AlertProvider template={AlertTemplate} {...alertOptions}>
      <DAppProvider appName={APP_NAME}>
        <React.Suspense fallback={null}>
          <Page pendingTransaction={pendingTransaction} setPendingTransactionCallback={setPendingTransaction} tzToolkit={tzToolkit} />
        </React.Suspense>
      </DAppProvider>
    </AlertProvider>
  );
}
The BuyTicketButton component must be displayed when an address that does not own a ticket is connected.
The Page component must return:
return <div className="App">
    <ConnectionSection></ConnectionSection>
    <RaffleInformation storage={storage} tickets={tickets}></RaffleInformation>
    <LaunchRaffleSection pendingTransaction={pendingTransaction} setPendingTransactionCallback={setPendingTransactionCallback}></LaunchRaffleSection>
    {
      (accountPkh ? storage?.players.includes(accountPkh) : true)
        ? <div/>
        : <BuyTicketButton pendingTransaction={pendingTransaction} setPendingTransactionCallback={setPendingTransactionCallback}></BuyTicketButton>
    }
  </div>
The LaunchRaffleSection component must be displayed if the connected address is the administrator address (from the storage)
The Page component must return:
return <div className="App">
    <ConnectionSection></ConnectionSection>
    <RaffleInformation storage={storage} tickets={tickets}></RaffleInformation>
    {
      (storage ? accountPkh === storage.admin : false)
        ? <LaunchRaffleSection pendingTransaction={pendingTransaction} setPendingTransactionCallback={setPendingTransactionCallback}></LaunchRaffleSection>
        : <div> </div>
    }
    {
      (accountPkh ? storage?.players.includes(accountPkh) : true)
        ? <div/>
        : <BuyTicketButton pendingTransaction={pendingTransaction} setPendingTransactionCallback={setPendingTransactionCallback}></BuyTicketButton>
    }
  </div>
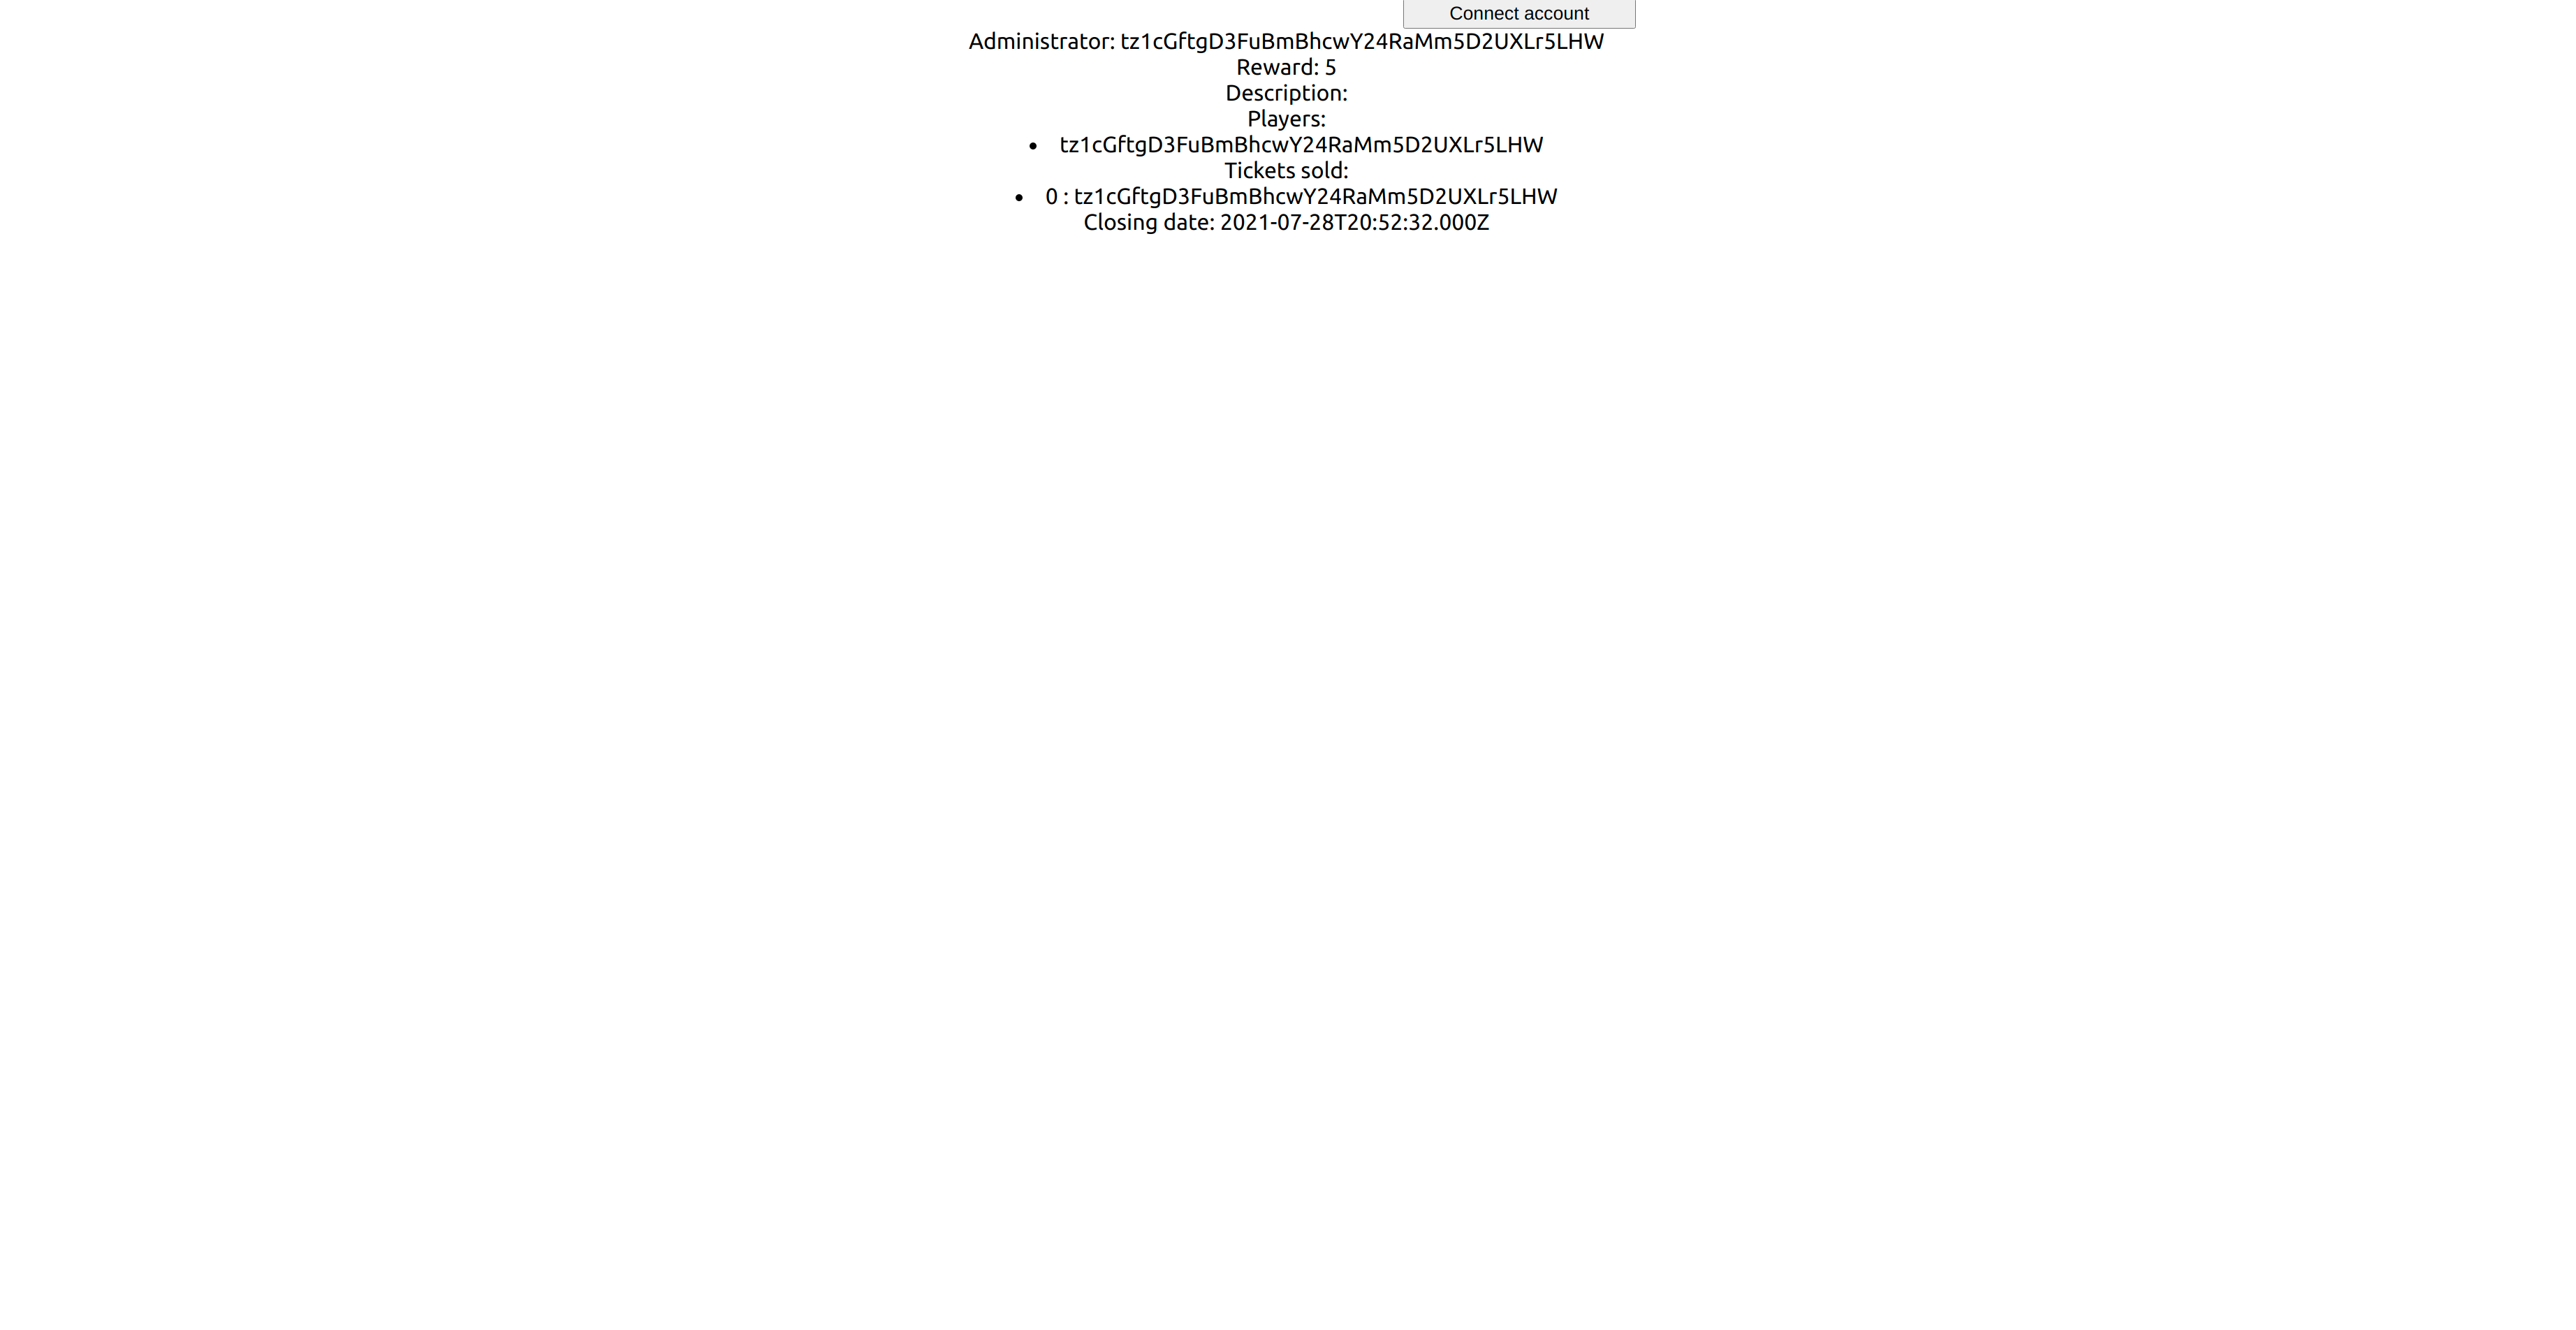
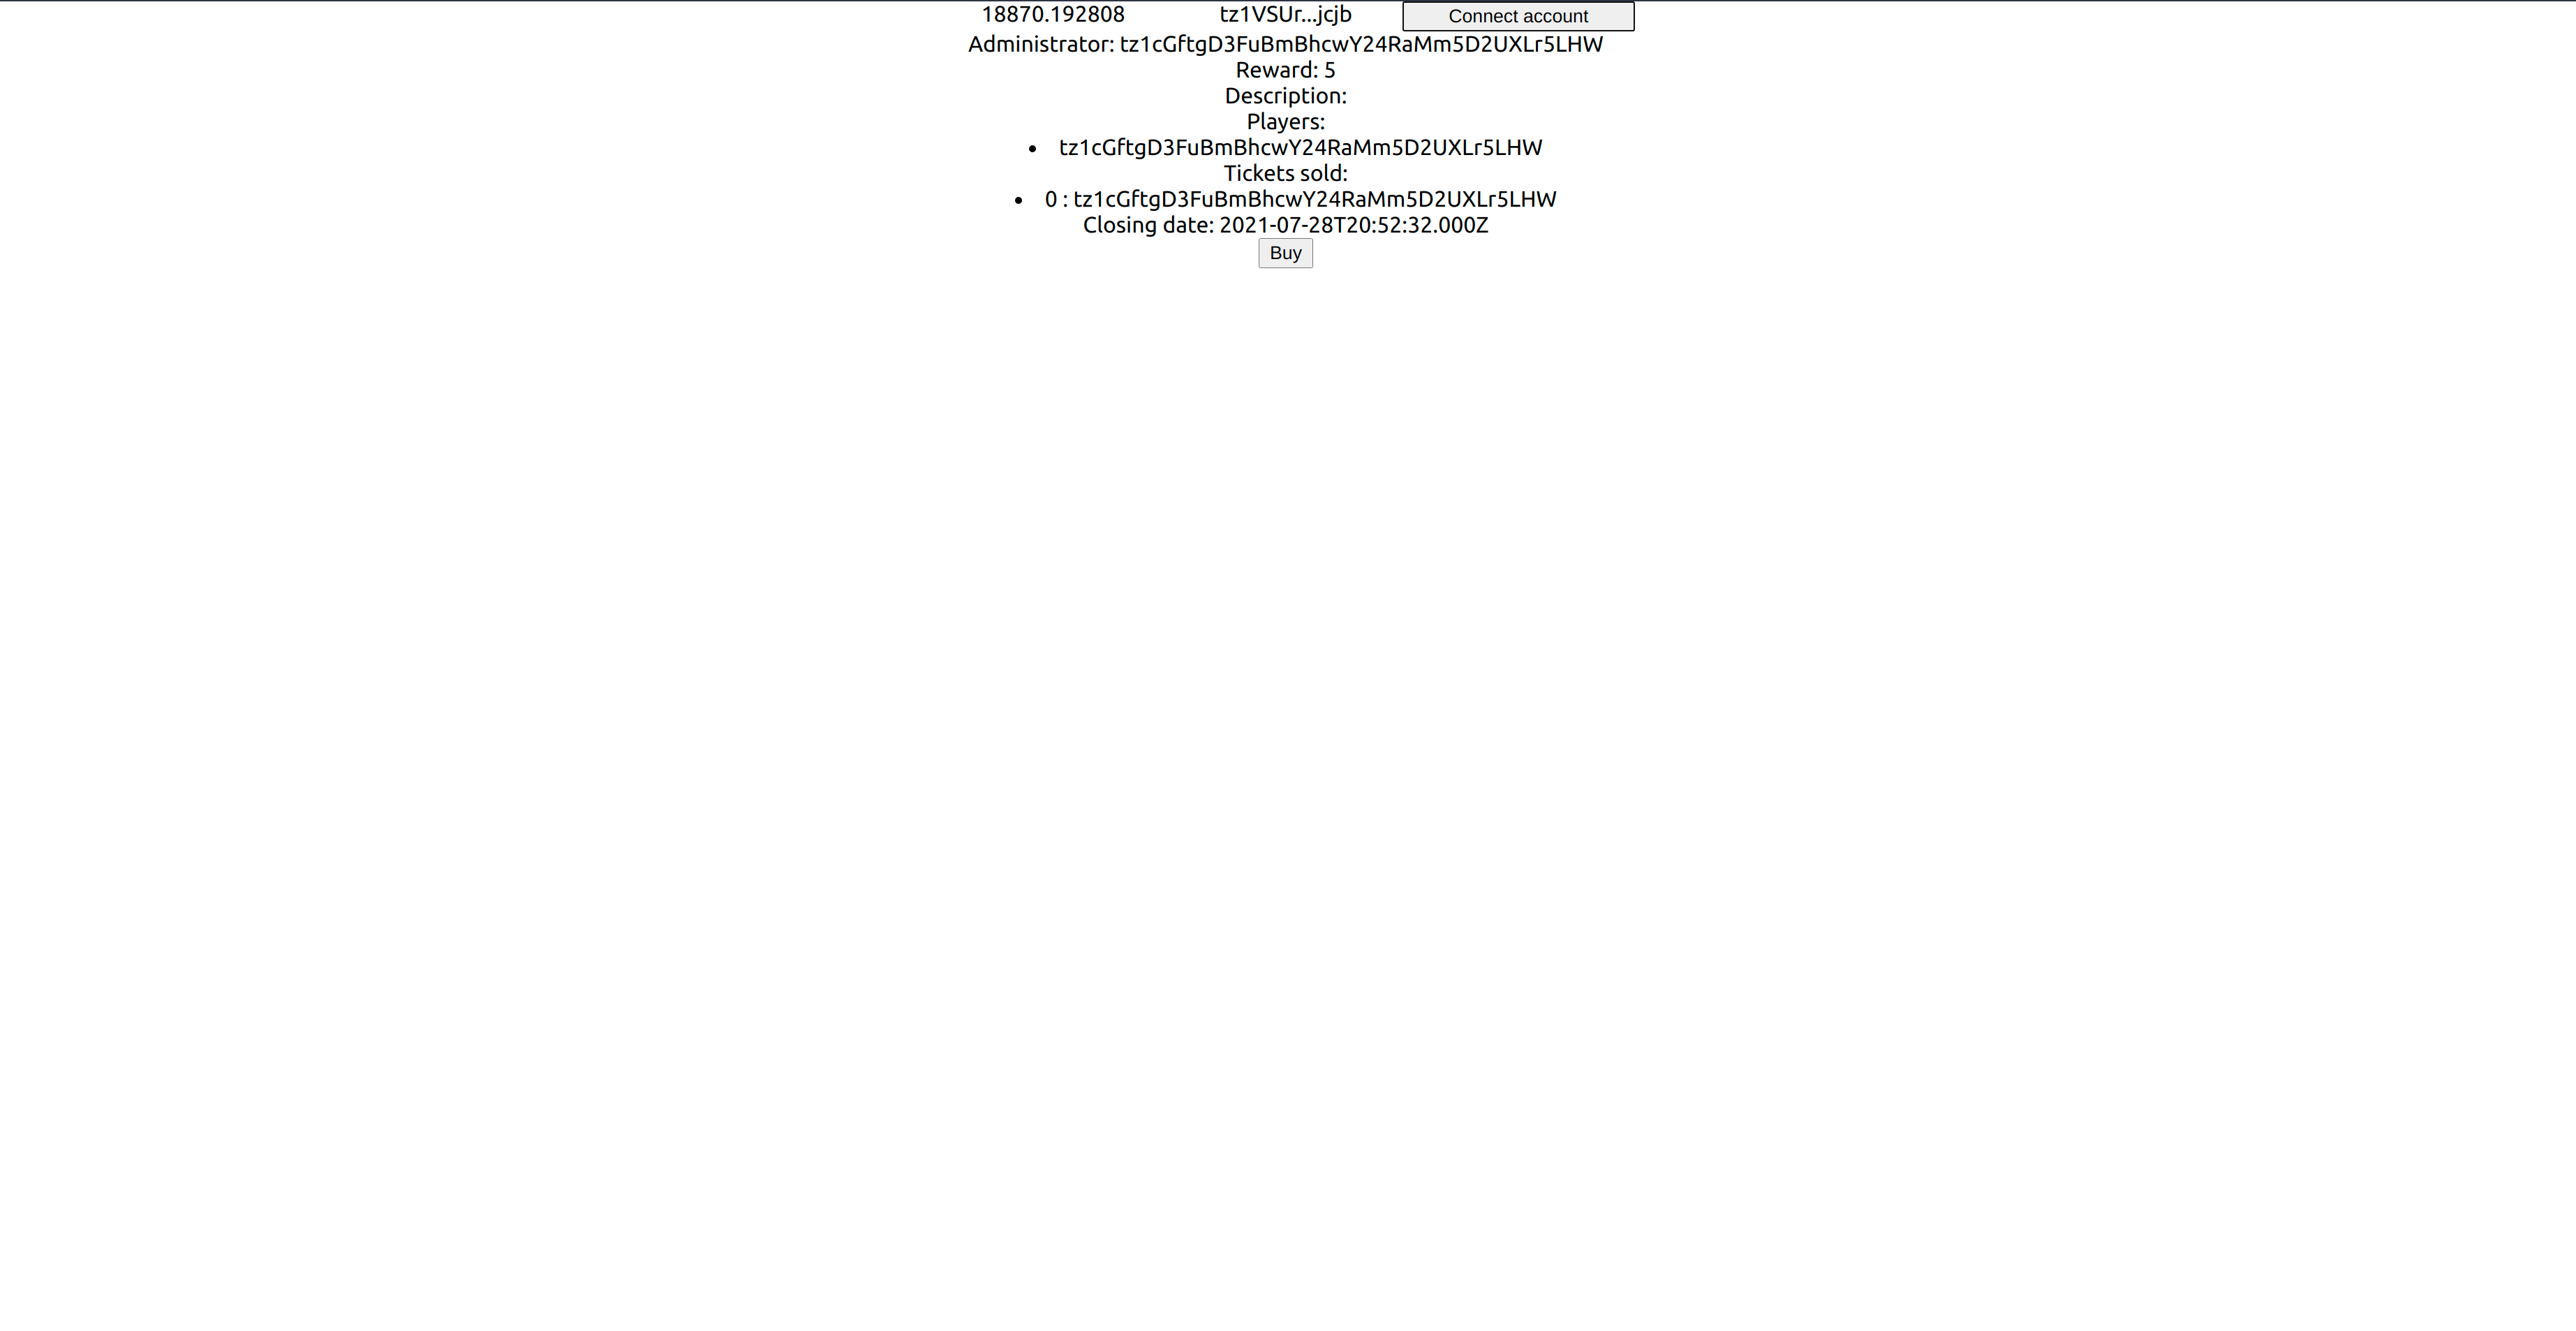
From now on, our app will look different if it's an administrator, a player or a buyer connecting.
For instance, if an address is not connected, the app will display:
If an address (different from the administrator) has not yet bought a ticket:
Conclusion
Just like any web application, the user experience is essential in Dapps. Users expect those applications to be easy-to-use and with quick access to clear information. Those apps must prevent average users from accessing restricted areas and from doing unnecessary actions.
All the refactoring made in this chapter aims to improve the function and the user experience: event notifications, restricting access to the openRaffle entrypoint, preventing the user from trying to buy a second ticket, etc.
Your Dapp will undoubtedly be more complicated than that. The smart contract will expose more entrypoints, the storage will hold more information, the frontend will likely to have more pages, and so on. However, the features described in this chapter will most certainly still come in handy.